How to apply plasters in showers

April 13, 2020

How to Apply Venetian Plaster
to Shower Walls

Our customers often ask us if they can apply plasters such as Venetian plaster, Tadelakt, or microcement in shower walls. The answer is a resounding yes! If you’ve ever dreamed of a bathroom free from the tedious chores of scraping mould or dirt from the grout between tiles, then plaster finishes might be the solution you’re looking for. The application of plasters to showers represents a sophisticated challenge in plaster finishing, but it comes with the promise of stunning and long-lasting results.

Read on to learn how to apply plasters in showers, and to transform your ordinary bathroom into a luxurious, low-maintenance sanctuary. In this guide, we’ll explore the detailed methods to achieve flawless and enduring plaster finishes within your shower, ensuring that beauty meets durability in one of the most demanding environments of your home.

Applying Plasters in Showers: a Worthy Challenge

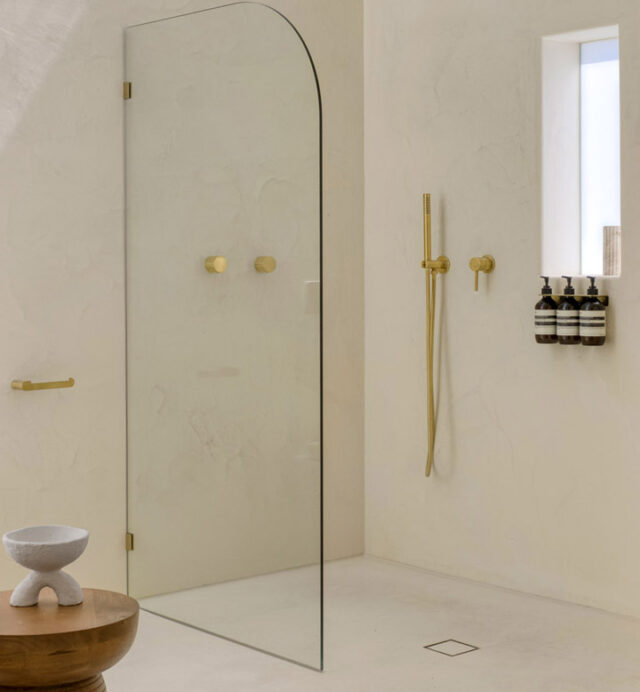
Applying natural lime-based plasters like Venetian plaster inside a shower can transform a standard bathroom into a spa-like sanctuary. These materials are a healthy, eco-friendly solution to create a luxurious, minimal feel. However, due to daily exposure to water and low air circulation, shower walls are prone to developing wet marks and mould. Despite these challenges, our extensive experience with plaster application in showers  has equipped us with robust solutions, which we are excited to share with you.

https://stuccoitaliano.com/wp-content/uploads/2024/10/hydrocement-seamless-shower-finish-stucco-italiano-2-640x692.jpg

Step-by-Step Guide: How to Apply Plasters in Showers

Selecting the Right Decorative Plaster

Choosing the correct type of plaster is crucial for shower applications. Always choose smooth plasters over coarse, textured ones. Indeed, smooth finishes do not retain organic residues that lead to mould growth. Here are some recommended options:

  • Hydrocement: As our flagship product for wet areas, Hydrocement is exceptionally suited for all sections of the shower. This mineral, water-resistant coating ensures a long-lasting, stain-free finish also in the shower tray. The water wets the surface of the plaster, but doesn’t penetrate it.
  • Pastellone: Known for its natural, mineral formulation, this microcement option is excellent also for bathrooms’ walls and floors. It creates a minimalist, seamless appearance. However, it is not recommended on shower trays, due to its less durable nature in constantly damp conditions.
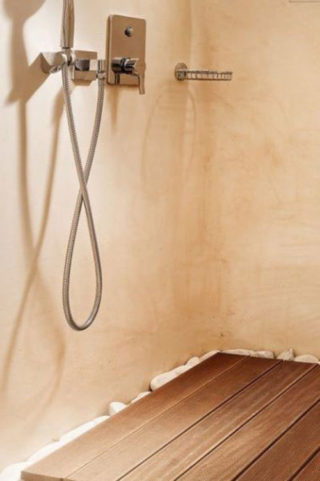
  • Marmorino Medium: This polished Venetian plaster provides a satin, classic effect that exudes elegance. It’s perfect for achieving a refined look on your shower walls.
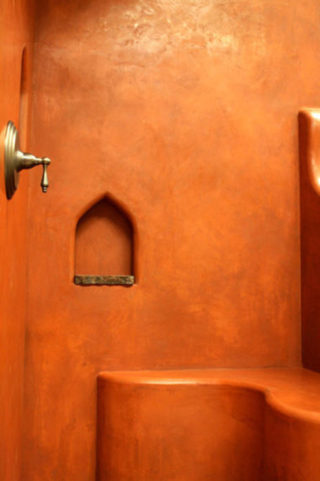
  • Tadelakt: This satin plaster is traditionally used in Moroccan steam baths for its waterproof qualities. These are gained through its unique stone application technique.

Note that only Hydrocement can be applied to shower trays. If you choose a plaster other than Hydrocement, make sure you only apply to the shower walls, and not to the tray.

Red Tadelakt in a Shower

Red Tadelakt shower

Marmorino Medium in a shower

Peach Marmorino Medium shower

Creating an Effective Shadow Gap in Showers

When applying plasters in showers, a crucial aspect to consider is the sealing between the wall and the shower tray. This area is particularly prone to the accumulation of damp and dirt. These can lead to severe wet and mould stains if not properly managed. Whether you’re renovating an old bathroom or working on a newly constructed one, creating a shadow gap at this junction is essential for maintaining the integrity and appearance of your plaster finish.

Step-by-Step Guide: Constructing a Shadow Gap
  1. Understand the Importance of a Shadow Gap:
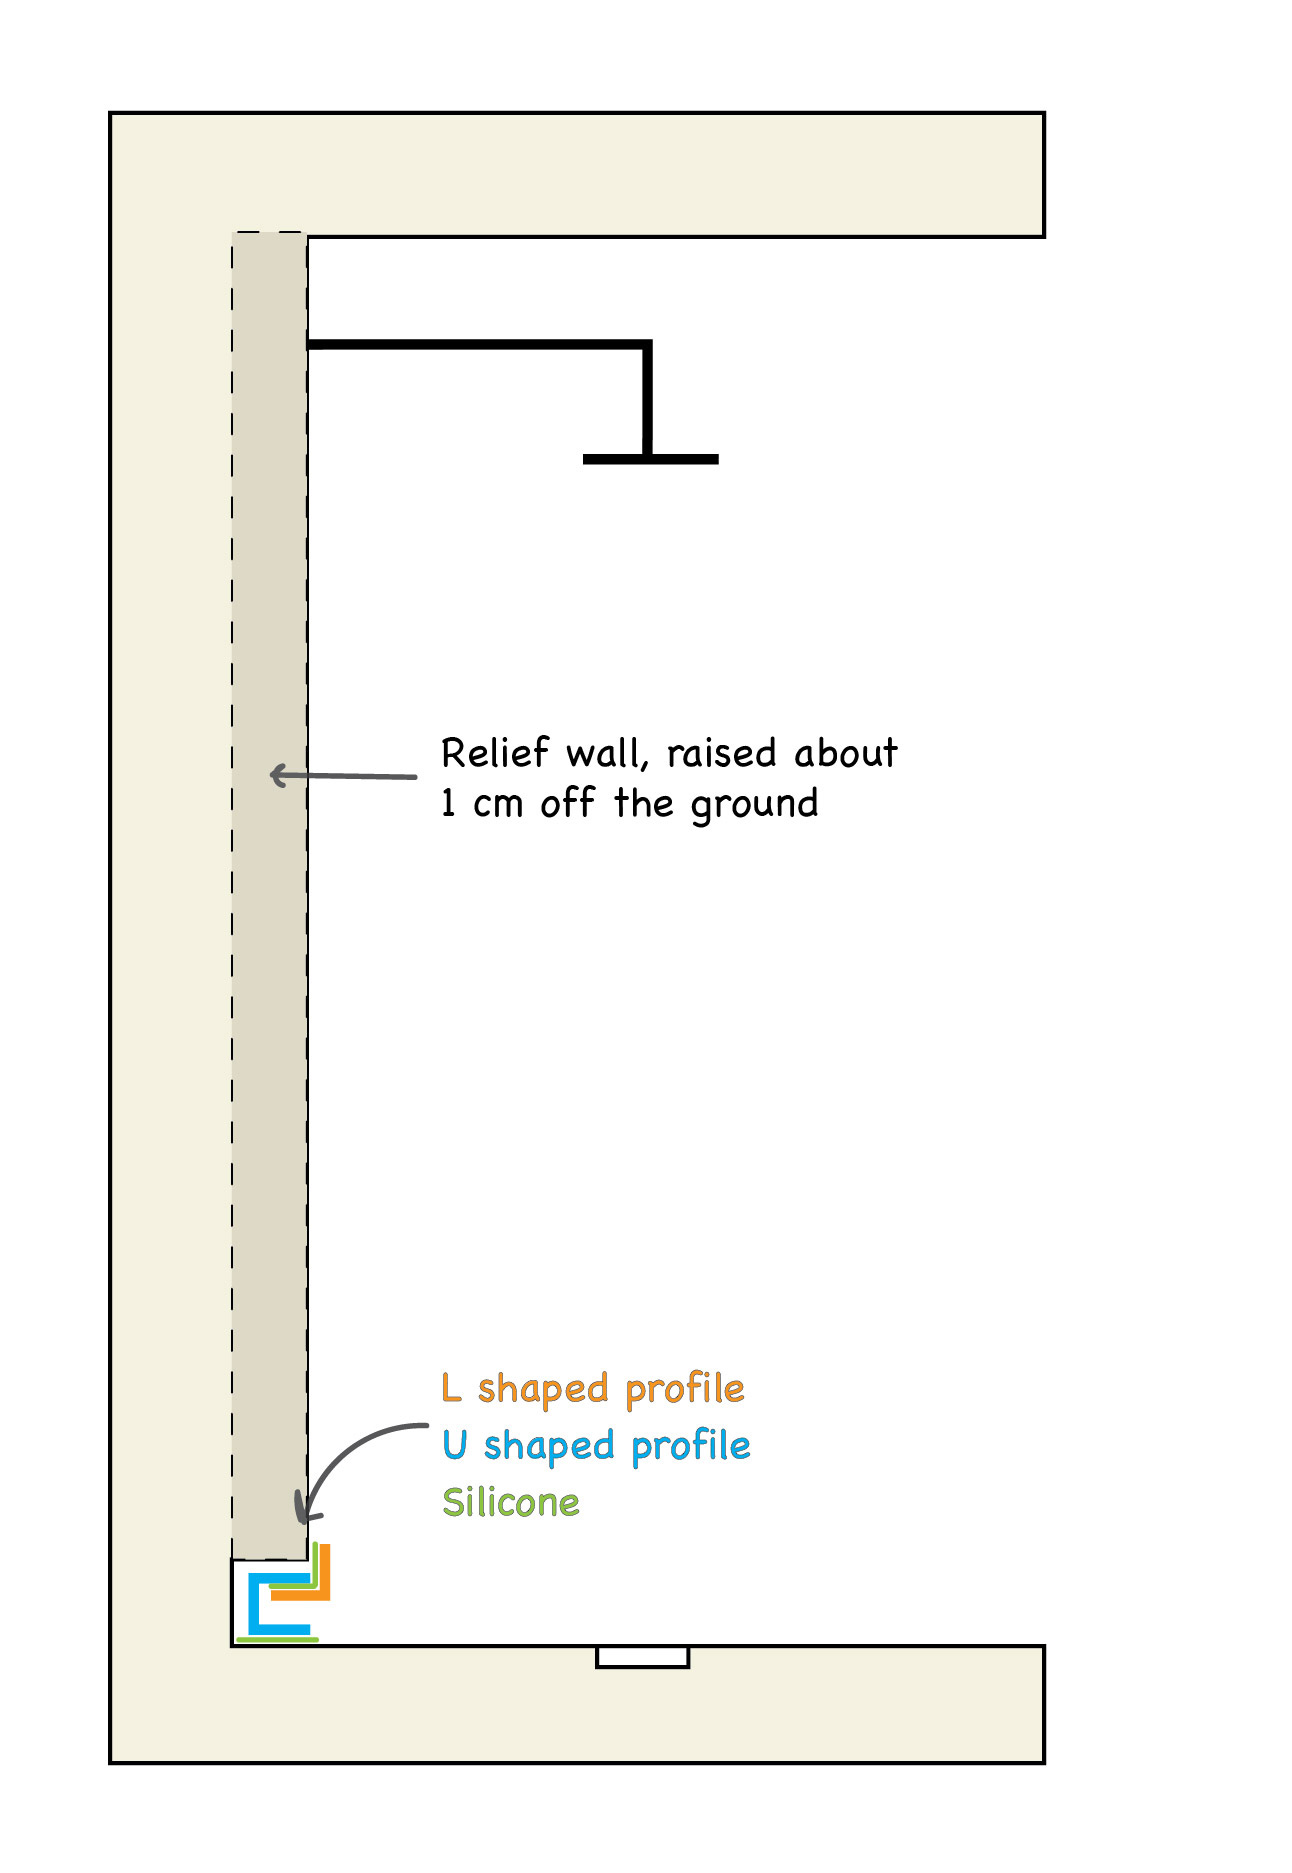
The shadow gap acts as a preventative measure to ensure that water flows into the shower tray, without stagnating at the wall’s edge. This design helps to prevent water damage by keeping the most vulnerable areas dry. When designing the shadow gap, ensure that the wall surface overlaps the inside of the shower tray. This setup helps direct water directly into the tray and away from the wall joint.
  2. Methods to Create a Shadow Gap:
There are two primary ways to establish this gap:
    1. Modify the Existing Wall: Carve a channel around the perimeter of the shower tray on the existing wall. This channel will house the waterproofing profiles.
    2. Add a Relief to the Existing Wall: Construct a raised feature relative to the wall, about a centimetre (half inch) off the ground. This method is less invasive and can be easier to implement in certain setups.
  3. Installing Waterproof Profiles:
In our method, we use stainless steel profiles shaped in ‘L’ and ‘U’ forms to protect the plaster finish:
    1. Position the U-shaped Profile: Insert this profile into the shadow gap, lying in a bed of silicone or mastic spread across the shower tray. Ensure the open part of the ‘U’ faces outward.
    2. Attach the L-shaped Profile: Apply silicone to the inner corner of the ‘L’ profile and fit it over the ‘U’. One side of the ‘L’ should tuck into the ‘U’, while the other rests on the raised relief of the wall.

Learn how to apply plasters in showers with a shadow gap
Learn how to apply plasters in showers with a waterproofing profiles

Last steps to completing the Shadow Gap:
  1. Secure with Fiberglass Mesh: After the profiles are firmly in place, cover the junction where the ‘L’ profile meets the wall with fiberglass mesh. Use glue and a brush for a secure application, ensuring that the transition between profiles and wall is smooth.
  2. Finalising the Plaster Application: Once the shadow gap is prepared and sealed, you can proceed with applying your chosen decorative plaster over the entire area. If your shower walls feature existing tiles or a waterproofing membrane, read the next paragraph on substrate preparation before plastering.

Video: How to create the shadow gap and apply the steel profiles

Preparing a Substrate for Plaster Application in Showers

To ensure a durable finish when applying plaster to shower walls, it’s essential to prepare a substrate that is both resistant and flexible. Below, we detail the procedures for preparing two common types of shower wall surfaces: those covered with a waterproofing membrane and pre-existing tiled surfaces.

a. Applying Plaster Over a Waterproofing Membrane

In many regions, it is mandatory to cover shower walls with a waterproofing membrane. This, however, is typically designed for tiling and not for plaster finishes. These membranes are flexible, and the softness of the membrane can lead to cracks in the plaster.

Procedure:

  1. Apply a fibre-reinforced plaster: Begin by applying a coat of fibre-reinforced plaster like Anticrak across the entire shower wall surface. This layer provides a flexible base that resists cracking.
  2. Reinforce the faucet area: After the first coat dries, apply a fiberglass mesh (180g/sqm) around areas with high stress, such as tap and faucet handles area. Secure this mesh with the same fibre-reinforced plaster.
  3. Add a Second Mesh Layer: Once the area around the handles is secure, apply another layer of fiberglass mesh to the entire wall. Again, use the fibre-reinforced plaster to fix it. Allow the third coat to fully dry before proceeding to apply your chosen decorative plaster.

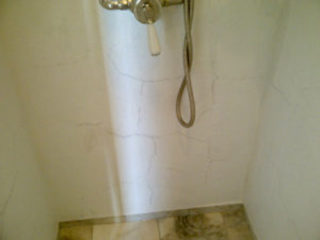
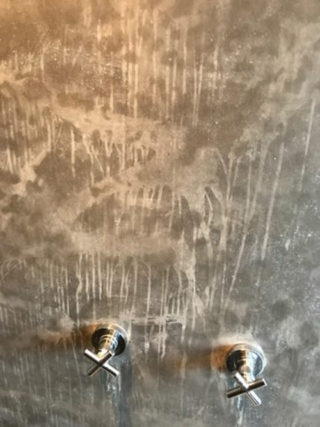
A plaster in a shower's walls is covered by cracks starting from the faucet handles
Shower box wall covered with cracks below the handles

Mistake 1: Marmorino was applied directly over a waterproofing membrane. Cracks formed around the faucet handles, eventually occurring all along the walls.

b. Applying a Decorative Plasters Over Tiles

If your project involves applying plaster over old tiles, creating a level and adhesive substrate is crucial.

Procedure:

  1. Levelling the Surface: Use a non-shrinking, adherent substrate plaster such as Stucco Italiano’s Gap Leveling Plaster (GLP). This plaster is designed to fill gaps between tiles without shrinking as it dries. It ensures a uniformly flat, adhesive surface.
  2. Initial Gap Filling: If there are wide or deep gaps between tiles, apply an initial layer of GLP solely within these areas. Ensure the tiles are clean and free from oily or greasy substances before applying GLP.
  3. Complete Surface Coverage: Apply a second coat of GLP over the entire tiled area to create a uniform and adherent layer.

c. How to Apply Plasters in Showers Without Tiles or Membranes

For walls that do not have existing tiles or waterproofing membranes: directly apply a Quartz Primer to create a suitable base for the plaster. The primer should provide enough adhesion to support the plaster finish.

Once you have prepared your substrate, you can apply your chosen decorative plaster normally, whether it be Venetian Plaster, Tadelakt or Microcement.

https://stuccoitaliano.com/wp-content/uploads/2023/03/GLP-320x320.jpg

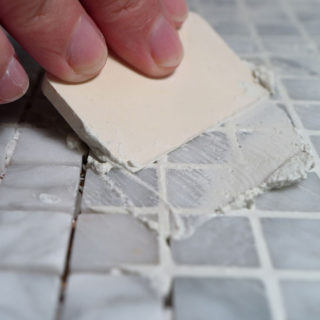
Application of GLP between the gaps of very small tiles

Waterproofing Shower Surfaces and Critical Points

After completing the decorative plaster application inside showers, proper waterproofing is critical to prevent the rapid appearance of moulds and permanent damage caused by moisture. This section will guide you on selecting the right waterproofing treatments. We’ll also explain how to protect vulnerable areas where water tends to dry slowly.

I. Choosing the Right Final Treatment for Your Plaster

Shower walls are susceptible to stains from prolonged dampness and moulds from organic deposits, like skin cells and soap residues. Corners and lower wall sections are particularly prone to these issues. For this reason, showers need very effective waterproofing treatments. Here is our recommended method:

  1. Presealer: Start by preparing the finish with one layer of Presealer. Presealer enhances waterproofing and facilitates the application of the subsequent varnish.
  2. Varnish application: Apply two coats of a water-based polyurethane varnish (e.g., PU1C or PU2C). Adjust the first coat to be slightly more liquid than the manufacturer’s recommendation to ensure deep penetration into the plaster.
  3. Handling Moisture Penetration: For Hydrocement Surfaces: If you notice small areas that appear wet after using the shower, do not be alarmed. Hydrocement is inherently water-resistant; thus, water may sit on the surface but will not penetrate the material. Therefore, it will not cause the salt efflorescence that otherwise would lead to staining. For Other Plasters: If similar wet spots appear on plasters other than Hydrocement, consider applying a diluted solution of Hydrocalce to these spots. This will enhance waterproofing and help prevent any potential staining.

II. Protecting Critical Areas: Tap and Shower Tray Seal

Two particularly vulnerable areas in the shower require extra attention:

  1. Faucet Handles Area: To prevent water from seeping behind the faucet handles, it is crucial to apply silicone behind the handle rings during installation. Focus on applying the silicone in the upper arch of the ring.
  2. Shower Tray Seal: As previously discussed, ensuring a proper seal between the shower tray and the walls is vital. If you cannot create a shadow gap in this area, make sure you apply a silicon line along the tray’s perimeter.

III. Common Mistakes

If you opt for a paraffin wax treatment to protect your plaster, it’s crucial to apply the silicone sealant before the paraffin. This is because silicone does not adhere well to surfaces treated with paraffin, leading to peeling and ineffective sealing. 

Check other common mistakes in the images below to learn how to apply plasters in showers correctly.

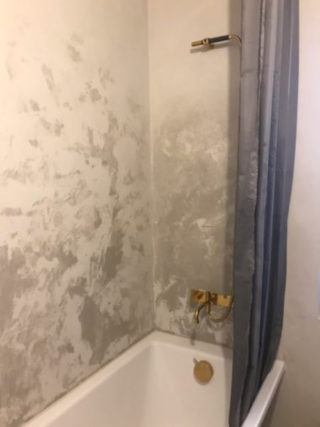
A stucco on a shower wall is completely ruined by water because of bad waterproofing
A plaster on a shower wall is completely ruined by water because of bad waterproofing

Mistake 2: a bad waterproofing led to permanent “wet effect” stains on the plaster

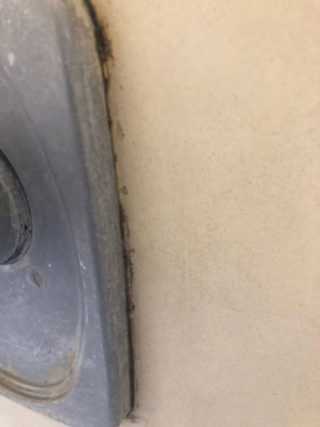
Mold behind a shower's faucet handles
Mold in the corner of a shower box's walls

Mistake 3: a bad waterproofing led to the creation of mold around the handle ring and on the wall corners

Shower stucco typical mistakes - how to apply plasters in showers
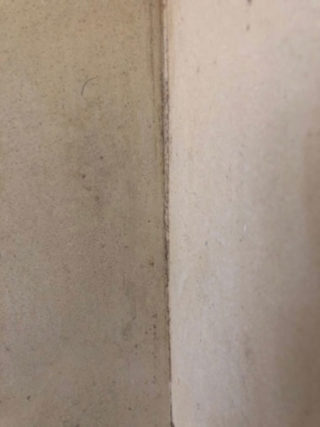
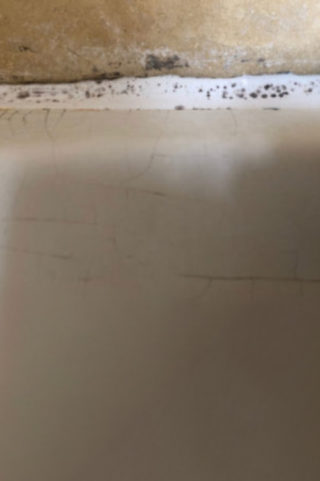
Mold on a silicon strip between shower-box walls and tray

Mistake 4: water has slipped into the handle ring and therefore into the substrate plaster, creating spots around the handle.

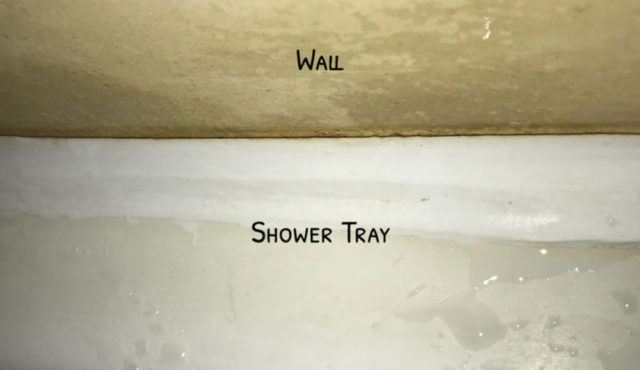
Mistake 5: damp and dirt accumulate in the sealing between the wall and the shower tray, originating mold stains.

https://stuccoitaliano.com/wp-content/uploads/2023/03/stucco_italiano_plasters_in_shower_mistakes-760x439-1-640x370.jpg

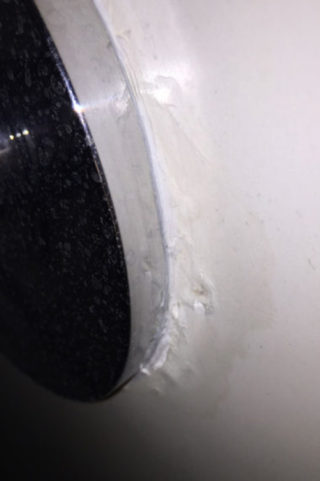
Mistake 6: the silicone seal has peeled off because it was applied on top of the paraffin treatment

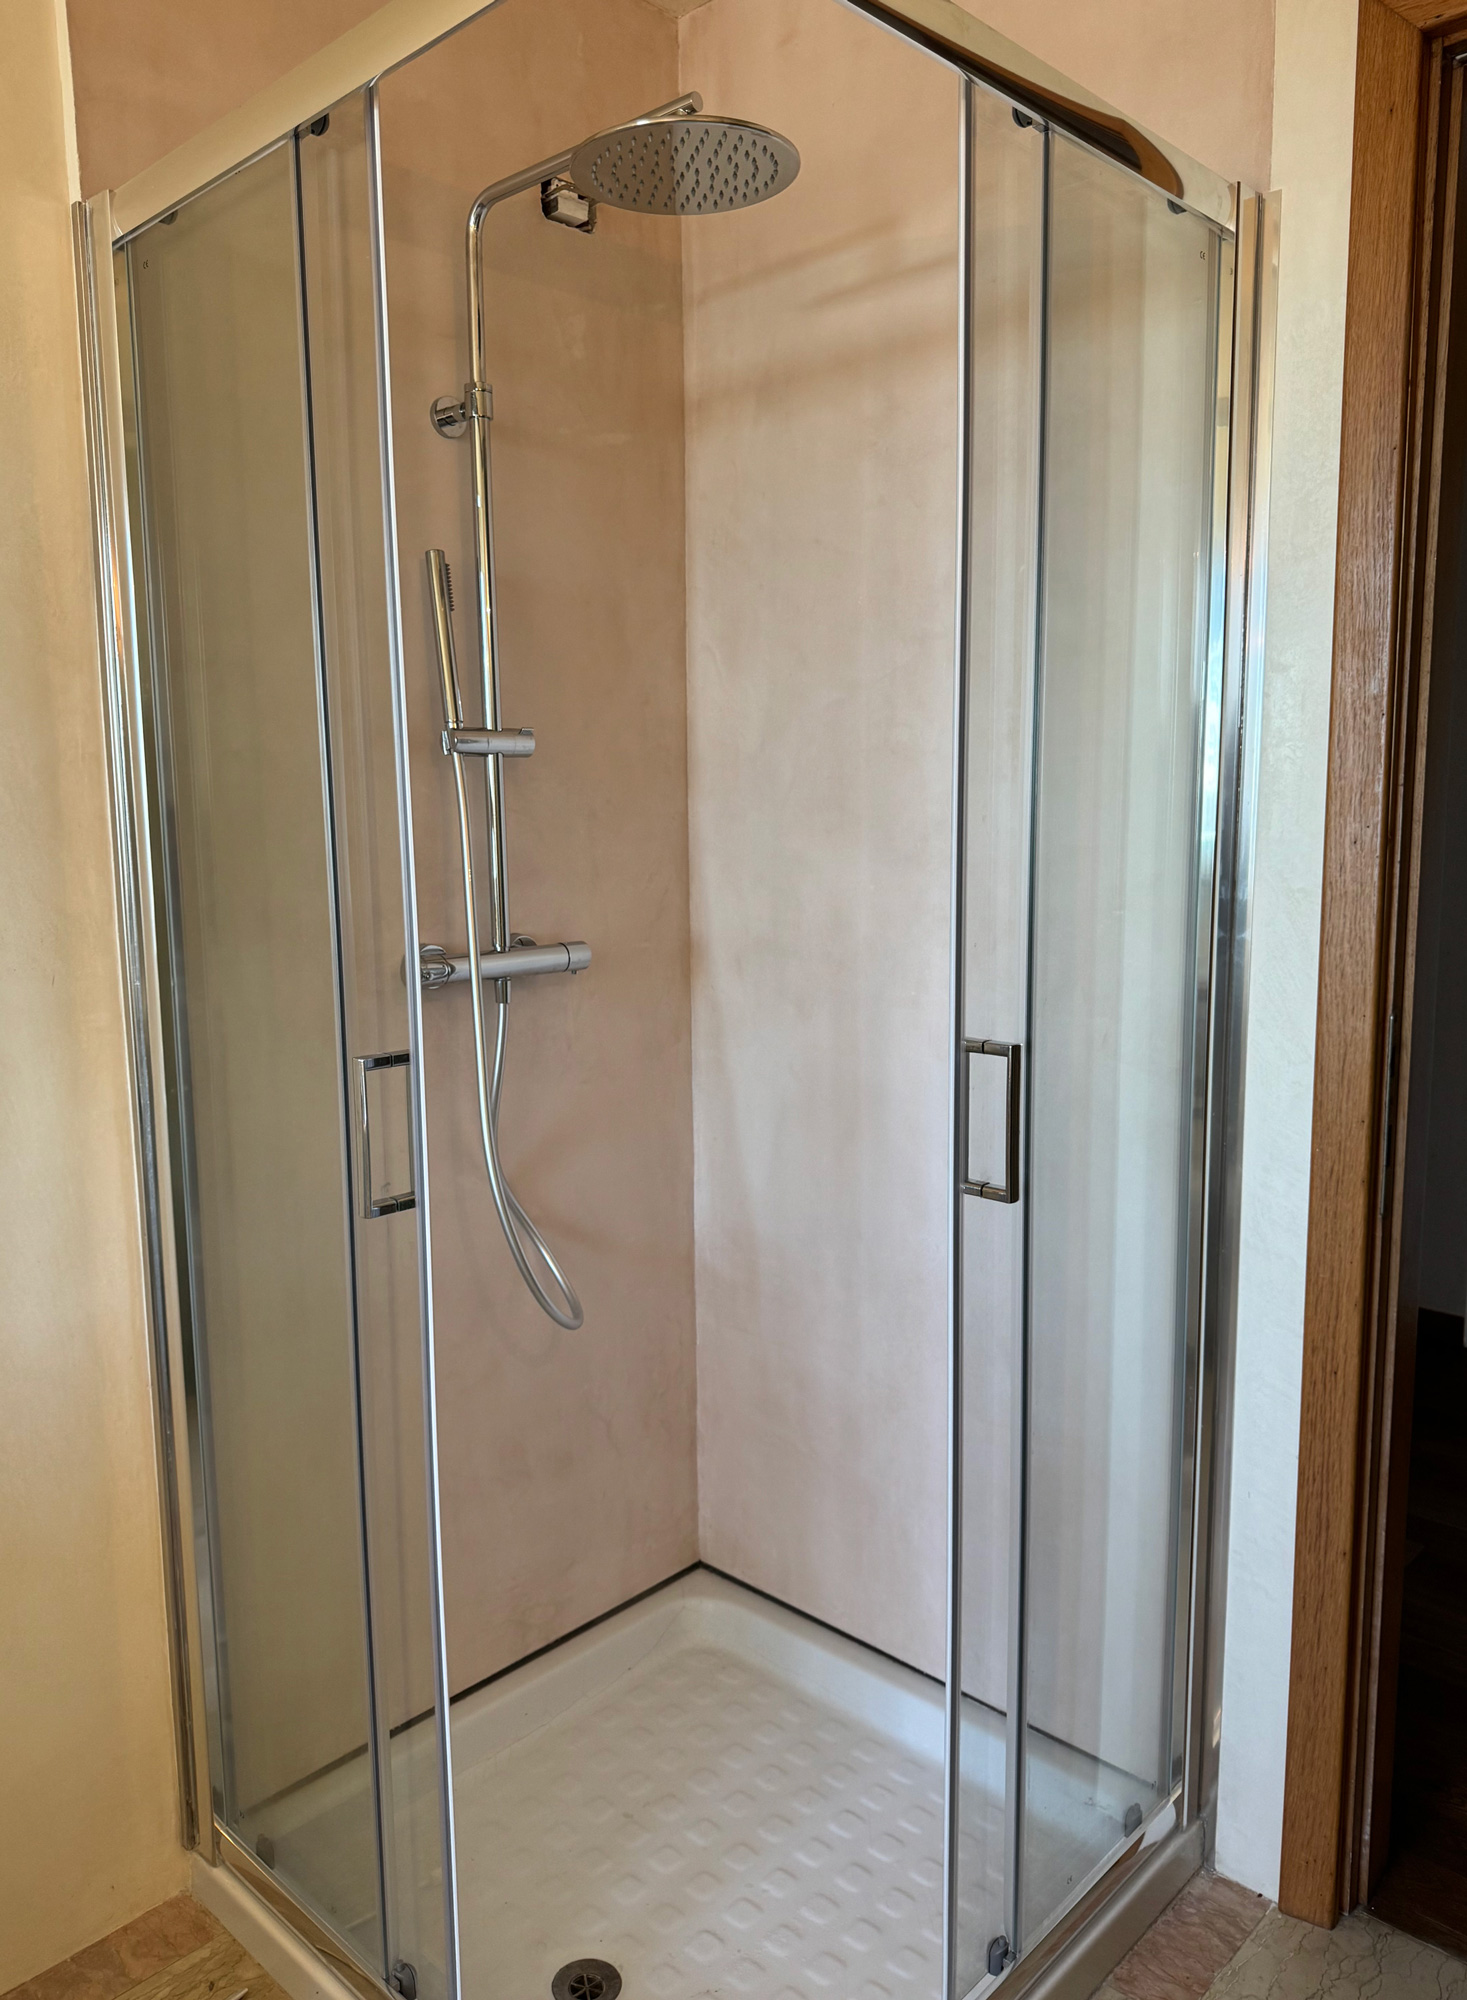
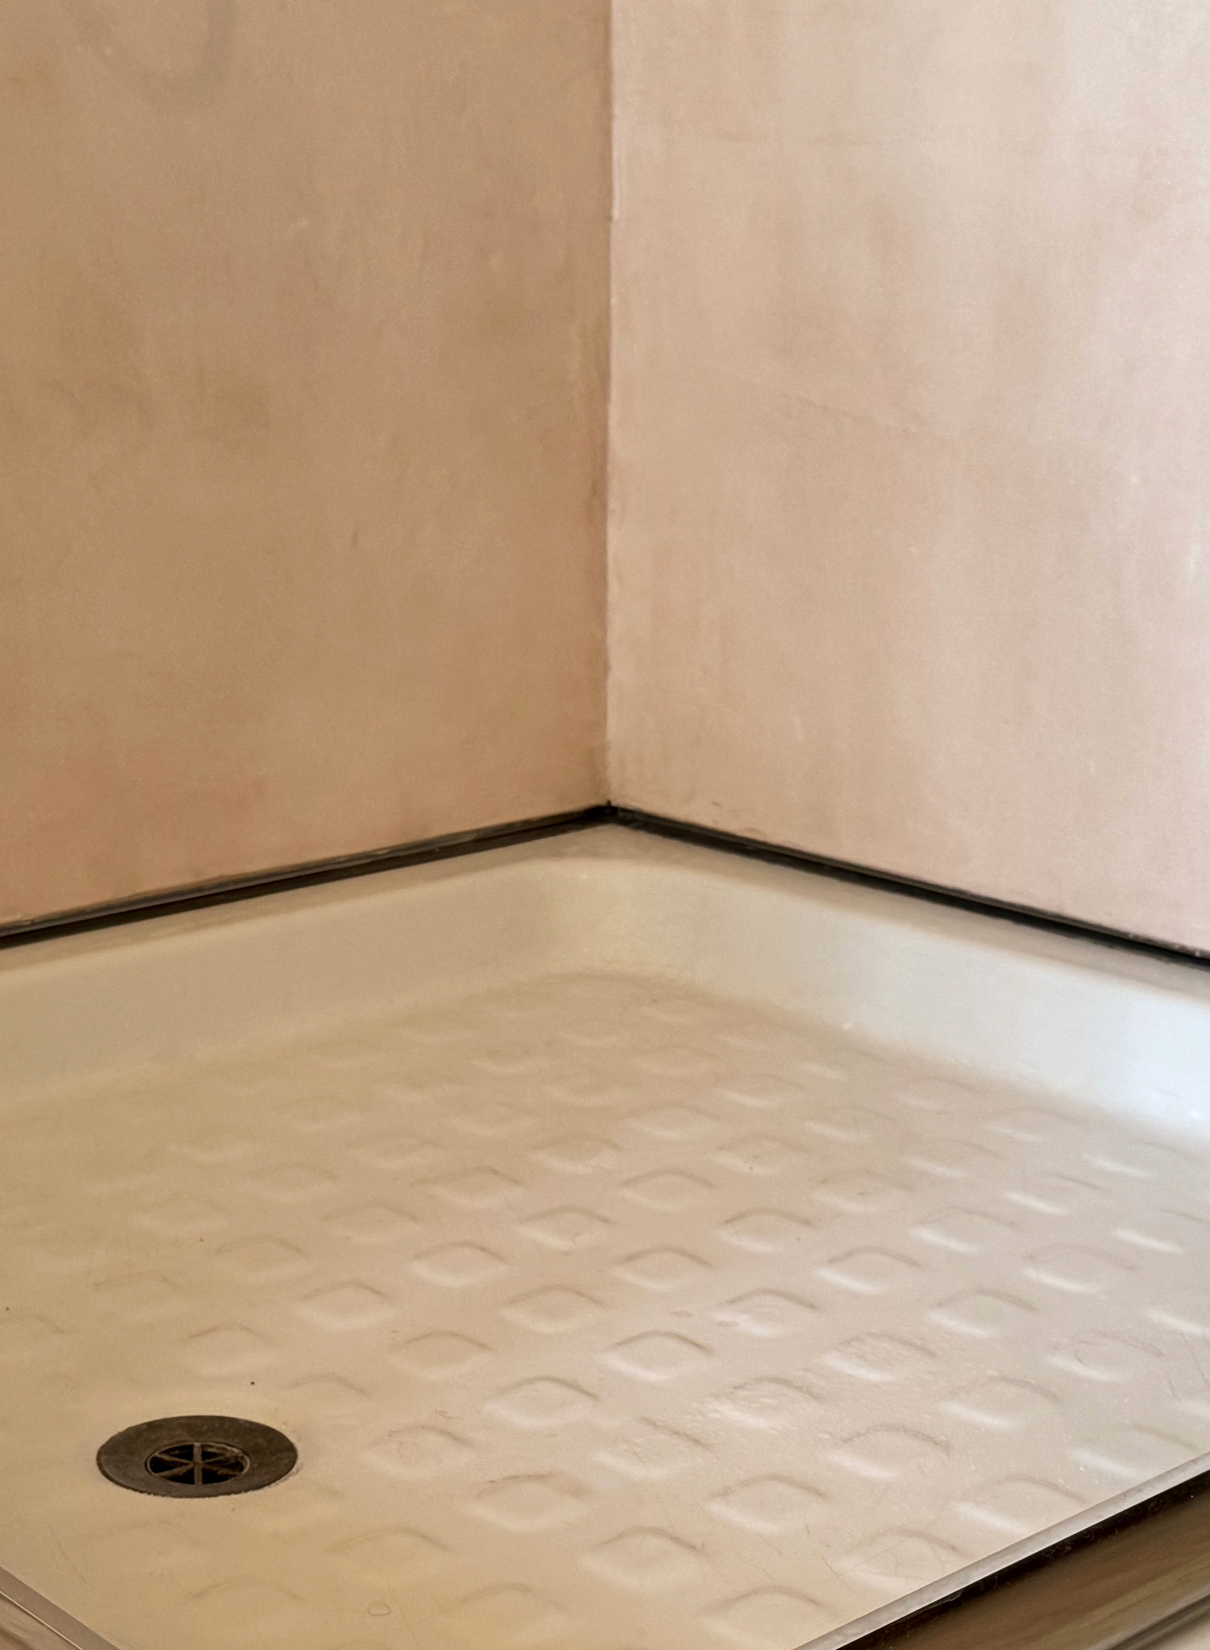
A successful application
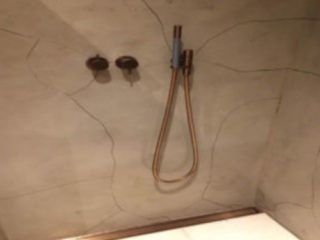
It was completed with Hydrocement, a shadow gap, and correct waterproofing.

By following these comprehensive steps and tips, learning how to apply plasters in showers is easily within your reach, turning your bathroom into a stylish and mold-resistant area. Adopt these methods to guarantee that your shower walls remain both attractive and long-lasting.

https://stuccoitaliano.com/wp-content/uploads/2020/04/Hydrocement-Stucco-Italiano5.jpg
https://stuccoitaliano.com/wp-content/uploads/2020/04/Hydrocement-Stucco-Italiano6.jpg

© 2022 Stucco Italiano – All rights reserved. C.F e P.IVA/VAT IT 03744780242 – r.e.a. VI n. 350312 – Cap. Soc. 20.000,00 € int. vers | Cookie Declaration | Privacy policy
Credits: Studio Nicolussi Anzolon design

© 2022 Stucco Italiano – All rights reserved. C.F e P.IVA/VAT IT 03744780242 – r.e.a. VI n. 350312 – Cap. Soc. 20.000,00 € int. vers | Cookie Declaration | Privacy policy
Credits: Studio Nicolussi Anzolon design